The Basics of Anamorphic Optics for filmmaking
In this blogpost I will briefly explain the history of anamorphic optics, the key features of anamorphics and the added value of experimenting with different anamorphic setups on modern cameras.
TL;DR: Anamorphic optics can be added in front of the regular camera lens (taking lens), to squeeze a widescreen picture onto a smaller, non-widescreen (4:3) frame. When projecting the film, the projector would also be equipped with an anamorphic lens to desqueeze the image back to its original widescreen aspect ratio. Furthermore, anamorphics have a handful of unique visual traits associated with professional film, or the 'cinematic look'.
A brief history of anamorphics
During the 1910s French Astronomer Henri Jacques Chrétien developed the first anamorphic lens, which offered a 180 degrees field of view, for military purposes. French cineast Claude Autant-Lara experimented with anamorphics in the late 1920s, and released the (now lost) widescreen film ‘Construire Un Feu’ in 1930. Because of the complexity to adapt anamorphics to cameras and projectors (and the added costs), anamorphics for cinema were left aside for a few decades.
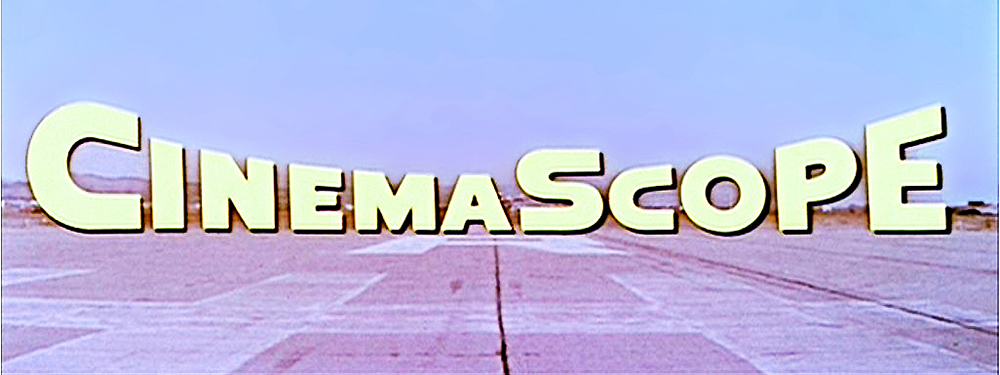
The introduction of television led to a decrease in revenue for cinemas, which forced cinemas to improve the cinematic experience. One of the solutions was to offer more immersive, wide screen films using anamorphic optics. In 1952, Twentieth Century-Fox bought the rights to anamorphic technology and created its own anamorphic widescreen format: CinemaScope. More and more cinemas adopted working with anamorphics to offer widescreen films. As a result, the public subconciously started to associate widescreen images with big Hollywood productions.
Anamorphics & Obsoletion
With the introduction of digital camera sensors and widescreen television, most cameras record at 16x9 by default. Although imaging technology has changed rapidly, anamorphics still play a big role in cinematography. As the public started associating the widescreen aspect ratio with big Hollywood productions, a lot of modern day filmmakers are still looking into widescreen aspect ratios and anamorphics to offer the viewer a more 'cinematic' experience. Also, anamorphics offer a few unique visual traits giving a more cinematic feel to your footage
Depth Of Field
With anamorphics, you'll be able to achieve a shallower Depth of Field. In order to achieve the same angle of view as regular aspherical optics, a longer focal length is needed - and higher focal lengths produce a shallower depth of field. For example: To get a 50mm angle of view with anamorphics, you could use a 100mm lens + 2x anamorphic. Now, in height, the image looks like a 100mm, with a more shallow DoF than a 50mm. In width the images will appear to have the same angle.
Second: If you choose to stick to the original focal length + anamorphic, you need to move in two times closer on your subject, also creating a more shallow depth of field.
Thirdly, most anamorphics have a minimum focus distance of ±1 meter. To get a closer minimum focus distance, diopters (close-up filters) have to be added to the setup. With stronger diopters, this means infinity focus is lost. Aim for a variable diopter to keep both close-focus as well as infinty focus. Alternatively a fixed diopter, ideally a +0.4 or +0.5 diopter, will also do the trick.
Anamorphic Lens flare
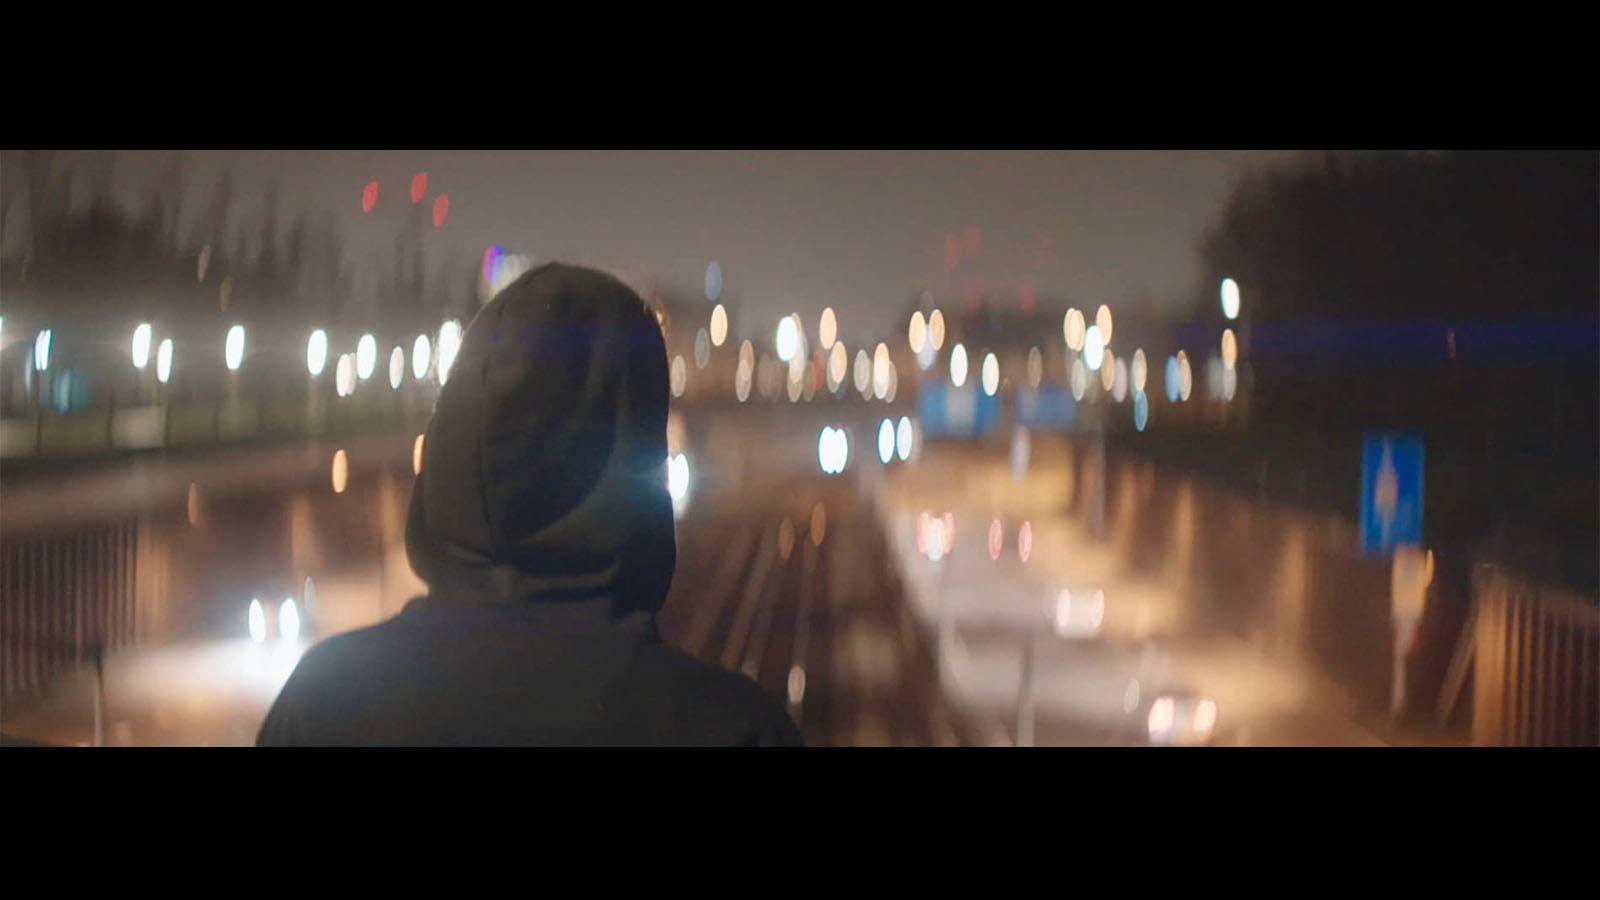
A really cool visual trait is the anamorphic lens flare. Through anamorphics, bright sources of light produce blue / purple-ish / sci-fi looking horizontal lines, instead of regular flares. Different anamorphic adapters produce different flares. Yes, these flares could be made in post production software, but I prefer to get as much of the final image straight from my camera to speed up the final workflow and reduce post production costs.
Anamorphic bokeh (out of focus light rendition)
Another visual trait is oval bokeh, as bokeh gets its shape depending on the lens opening, which is oval in anamorphics.
Vignetting
Most anamorphic adapters produce vignetting. Too much vignetting should be avoided, but a slight vignette adds to a more cinematic look.
Chromatic Aberrations
Anamorphics change how light travels within the lens setup, and in some cases red, green and blue light are seperated, which results in an RBB split called chromatic aberration. This RGB split mostly happens towards the edge of the image. It could either ruin an otherwise perfect image, or be a visually interesting effect. Special diopters to fix chromatic aberrations are available, like the much sought after Tokina +0.4 achromatic diopter.
Why not just fix it in post?
Some people wonder whether it's worth diving into the complex and expensive world of anamorphics to get the ‘cinematic look', when faking the look through lens modifications and plug-ins offer visually comparable alternatives. I'd say experimenting with anamorphics is informative and it boosts creativity. It teaches a lot about the technical and creative history of cinema, like the progression of framing shots throughout time, depending on available technology and popular taste.
Anamorphic lenses allow you to retain more sensor data when your goal is to deliver a widescreen or 'letterboxed' final. A lot of cameras, ranging from Mirrorless to cinema cameras, actually have 4x3, or 3x2, or even weirder aspect ratios. First, the sensor is cropped to 16x9, and then even further down when letterboxing. A FullHD, 1080p image (16x9 or 1.78:1 aspect ratio) means (1080x1920 =) 2,073,600 pixels. A letterboxed cinemascope image (2.35:1 aspect ratio) means (832x1920 =) 1,597,440 pixels. So, when letterboxing, another 33% of the frame is wasted.
Getting started
There is a wide variety of anamorphic adapters available. In general, you can choose between a single focus, or a double focus anamorphic adapter. A single focus anamorphic adapter means that you can focus through the anamorphic adapter with just the taking lens. Double focus means that you need to focus both the taking lens and the anamorphic adapter, to set your focus. This may seem annoying at first, after a while it gets easier to guess distances between your camera and objects/subjects and you learn to focus by guessing the distance. There is also special 'Single Focus Solutions' available, like a variable front diopter, to change a double focus setup into a single focus setup. These can be quite expensive, but as the demand for anamorphics and single focus solutions are growing, new and affordable setups are being released.
Some companies started producing anamorphics again. They're mostly single focus and come with the right mount for use with modern cameras. Alternatively you could scout for old anamorphic projector lenses at second hand websites. Remember, cinemas had to stretch the anamorphic 4x3 image back to widescreen, so a lot of old cinemas (unknowingly) have a couple of anamorphic lenses laying around. Most of those old anamorphic cinema projector lenses are double focus. It's important to properly support heavy anamorphics when using them with a lightweight DSLR or mirrorles camera. Use rails and lens support mounts to not damage your camera body or taking lens!
Getting into anamorphics for DSLR and mirrorless cameras doesn’t have to be expensive or difficult. It just takes some time to get to know the history of different anamorphic optics, choose which one would fit your needs and actually find one. Luckily, most of that work has already been done by other enthusiasts, and I highly recommend this YouTube channel for a lot of information on anamorphic cinema, lenses and adapters and regularly posts videos about various anamorphic gear.
